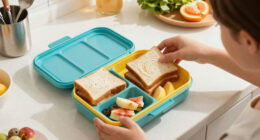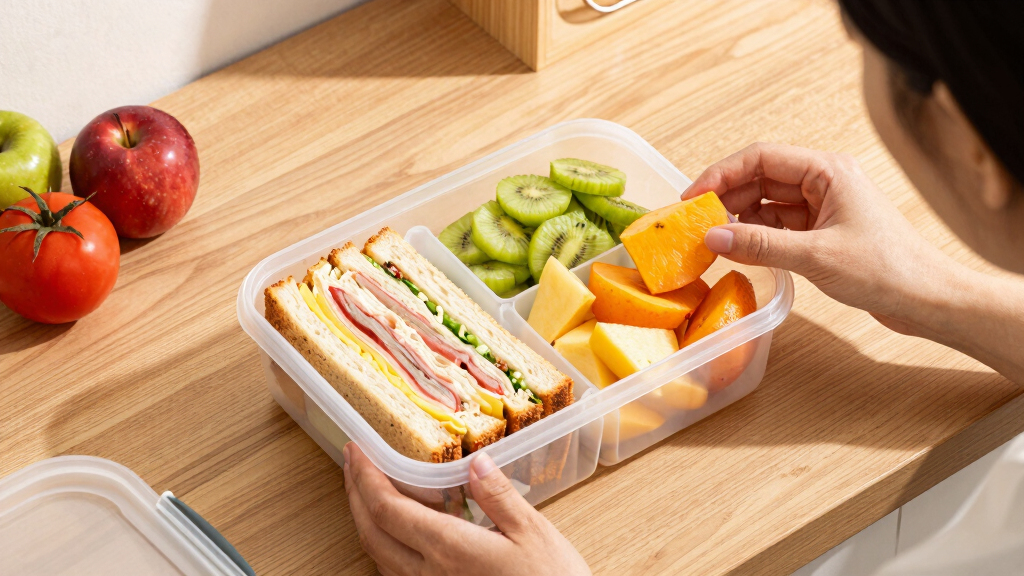
This guide provides clear instructions for parents and caregivers to prepare a nutritious and well-organized lunch box for school children. It covers selecting ingredients, packing, and storage to ensure food safety and appeal. Suitable for beginners, the process takes about 15 to 30 minutes.
Difficulty: Beginner | Time: 15-30 minutes
What You’ll Need
Tools & Materials:
- Reusable lunch box or containers
- Cutting board
- Knife
- Measuring spoons
- Food storage bags or wraps
Knowledge:
- Basic food safety and hygiene
- Understanding balanced meal components (protein, carbs, fruits/vegetables)
Plan lunch options ahead to save time. Ensure all tools and ingredients are clean before starting.

TOUWMX Bento Box For Kids, 4 Pack 3 Compartments Meal Prep Containers Reusable Lunch Containers, Food Storage Containers With Lids, Stackable Snack Boxes for School, Work, and Travel
【Wheat Straw Bento Box 】: The 3-compartment bento lunch box is made of durable wheat straw and food…
As an affiliate, we earn on qualifying purchases.
As an affiliate, we earn on qualifying purchases.
Before You Start
Wash your hands thoroughly. Check the lunch box and containers for cleanliness. Gather all ingredients and tools to streamline the packing process. Avoid packing perishable foods if they cannot be refrigerated until departure.

eedabros Kids Thermo Food Jar for Hot Food, 15.2 oz Vacuum Insulated Hot & Cold Lunch Container with 316 Stainless Steel Interior, Wide Mouth Soup Jar for School (Navy)
HOT & COLD VACUUM INSULATION – Keep lunch ready for school, work, or travel. This 15.2 oz vacuum…
As an affiliate, we earn on qualifying purchases.
As an affiliate, we earn on qualifying purchases.
Step-by-Step Instructions
Choose a protein source (e.g., slices of chicken, cheese, or hummus), a carbohydrate (e.g., crackers, bread, or pasta), and a variety of fruits and vegetables. Include a small treat if desired.
Tip: Use leftovers or pre-portioned items to save prep time. Keep in mind any allergies or dietary restrictions.
Check: Your menu includes at least three different food groups and appears colorful and appealing.
Step 2: Prepare and portion the main items
Slice or portion proteins and vegetables into manageable pieces. Use measuring spoons or cups to portion grains or snacks. Place each component into separate sections of the lunch box or individual containers.
Tip: Keep moist items separate from dry ones to prevent sogginess. Use airtight containers for liquids or dips.
Check: All items are prepped, portioned, and stored in containers, ready for packing.
Step 3: Add fruits and vegetables
Wash fruits and vegetables thoroughly. Slice or prepare as needed, then place them into compartments or containers. Use small containers or wraps for items like berries or cherry tomatoes.
Tip: Opt for fruits that won’t brown quickly (e.g., apples with lemon juice, citrus slices). Pack crunchy vegetables separately to maintain texture.
Check: Fruits and vegetables are fresh, washed, and properly stored, ready to be added to the lunch box.
Step 4: Pack the lunch box
Arrange all prepared items neatly in the lunch box, ensuring heavier or more fragile items are secure to prevent spilling. Include a napkin or small wipe for messes.
Tip: Place drinks or liquids in leak-proof containers on top or in designated compartments. Confirm all lids are sealed tightly.
Check: All items are securely packed, and the lunch box closes easily without squeezing or spilling.
Step 5: Add any extras and seal
Include any small treats, utensils, or napkins. Seal the lunch box tightly and label it if needed.
Tip: Use reusable bags or wraps for snacks to reduce waste. Confirm everything is sealed to prevent leaks during transport.
Check: The packed lunch looks tidy, with all components secure and ready for transport.
Step 6: Store the lunch box properly
If not leaving immediately, refrigerate the lunch box or keep it in a cool bag with ice packs until departure time.
Tip: Ensure perishable items stay cold to prevent spoilage. Pack the lunch box last after all other preparations.
Check: Lunch remains fresh and cool when checked before leaving for school.
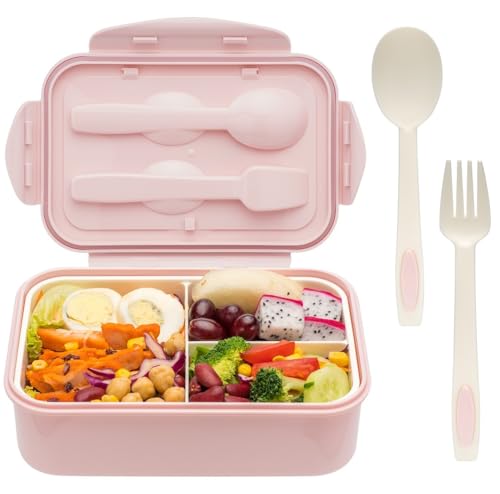
LOVINA Bento Boxes for Adults – 1100 ML Bento Lunch Box For Kids Childrens With Spoon & Fork – Durable for On-the-Go Meal, BPA-Free and Food-Safe Materials
♥PERFECT BENTO LUNCH BOXES FOR YOUR HEALTHY MEALS: Our reusable bento boxes for adults and kids are easy…
As an affiliate, we earn on qualifying purchases.
As an affiliate, we earn on qualifying purchases.
Common Mistakes to Avoid
- Overpacking the lunch box, causing it to be difficult to close. — Use appropriately sized containers and avoid filling it to capacity. Leave some space for ease of closing.
- Not sealing liquids or moist items properly, leading to leaks. — Use leak-proof containers and double-check lids are secure before packing.
- Packing perishable items without refrigeration, risking spoilage. — Include ice packs or choose shelf-stable options if refrigeration isn’t available.
- Forgetting to wash fruits and vegetables, risking contamination. — Thoroughly wash all produce under running water before packing.

QQKO Bento Lunch Box for Kids Girls Boys, Toddler Kids Lunch Boxes for School, Lunch Containers for Adults with 4 Compartments, Sauce Container, Utensils, Food Picks and Muffin Cups, Purple
NOTE: The packaging box features a green lunch box as the cover image, but inside, you will find…
As an affiliate, we earn on qualifying purchases.
As an affiliate, we earn on qualifying purchases.
Troubleshooting
Problem: Lunch smells bad or food appears spoiled upon packing.
Solution: Check expiration dates, use fresh ingredients, and refrigerate or cool items until packing.
Problem: Lids or containers leak during transport.
Solution: Ensure lids are tightly secured, use leak-proof containers, and test for leaks before packing.
Problem: Food is soggy or wilted when unpacked.
Solution: Use separate containers for moist and crunchy items, and pack them just before leaving.
What Success Looks Like
The lunch box contains a variety of fresh, properly stored foods from all required groups, packed securely with no spills or leaks. It is ready to be transported and will remain appealing and safe until lunchtime.
Next Steps
Clean and wash reusable containers after use. Prepare a new menu for the next day, or replenish items as needed. Consider batch prepping ingredients to save time on subsequent days.
Frequently Asked Questions
How long can I leave a packed lunch at room temperature?
Perishable foods should not be left at room temperature for more than 2 hours, or 1 hour if it’s very hot outside. Use ice packs to keep foods cold until lunchtime.
What are good options for allergy-friendly lunch boxes?
Choose hypoallergenic protein sources, such as cooked chicken or turkey, and avoid common allergens like nuts or dairy if needed. Always read labels and prepare foods that meet dietary restrictions.
How can I make my child’s lunch more appealing?
Use colorful fruits and vegetables, fun-shaped cutters, and include small treats. Arrange items neatly and vary the menu daily to keep it interesting.
What are some tips for packing a vegetarian or vegan lunch?
Select plant-based proteins like beans, tofu, or hummus, and include a variety of vegetables, grains, and fruits. Check labels for hidden animal products.