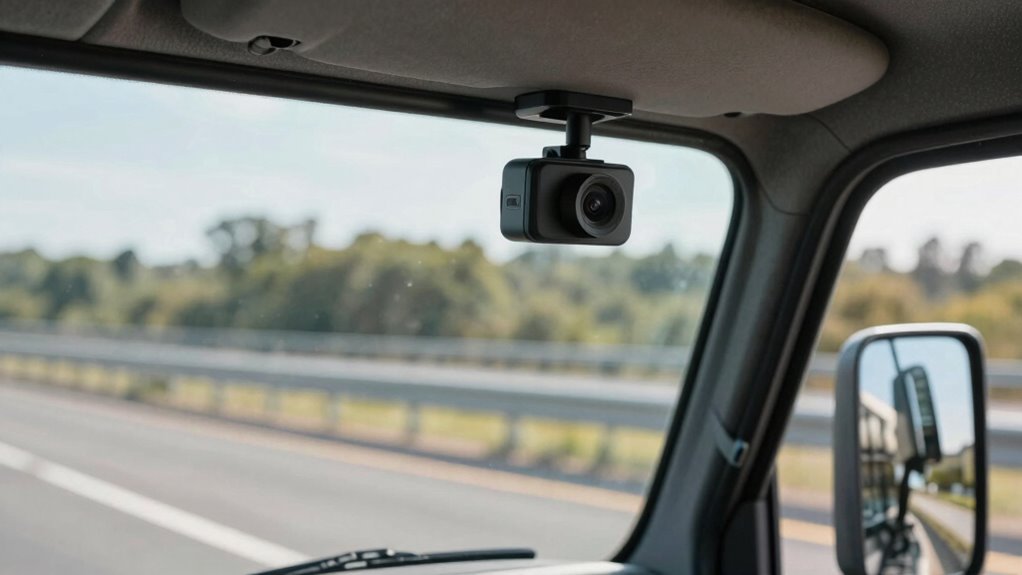

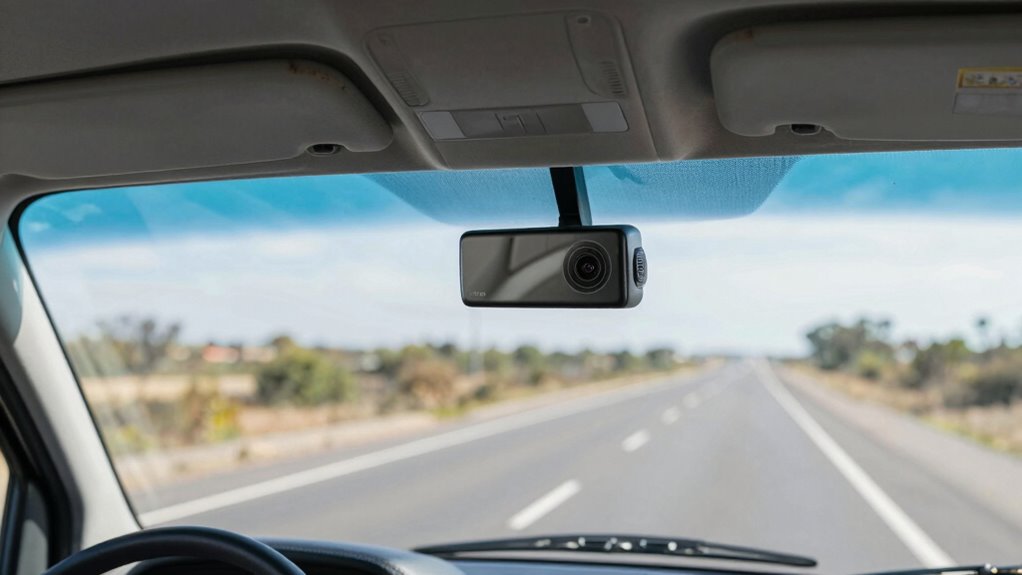
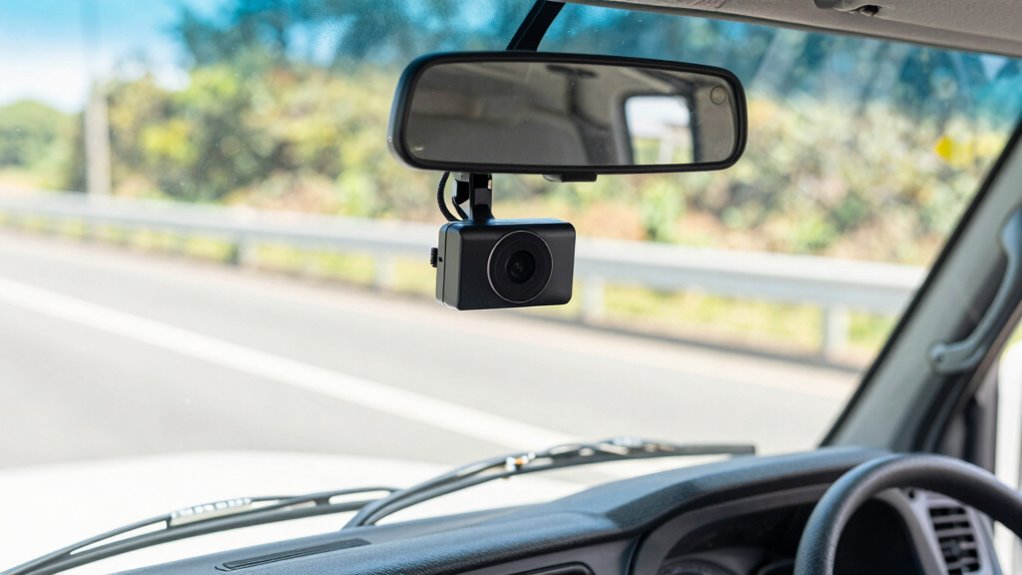
The best spot for your truck’s dash cam isn’t behind the rearview mirror, where most people mount it. Instead, place it high on the windshield near the top corner for a wider view and fewer glare issues. Proper placement guarantees clearer footage, better safety, and fewer distractions. Avoid common mistakes like improper angles or obstructed views. Want to learn how to position your dash cam for ideal coverage and safety? Keep going for detailed tips.
Key Takeaways
- Mount the dash cam high on the windshield near the top corner for wider coverage and better viewing angles.
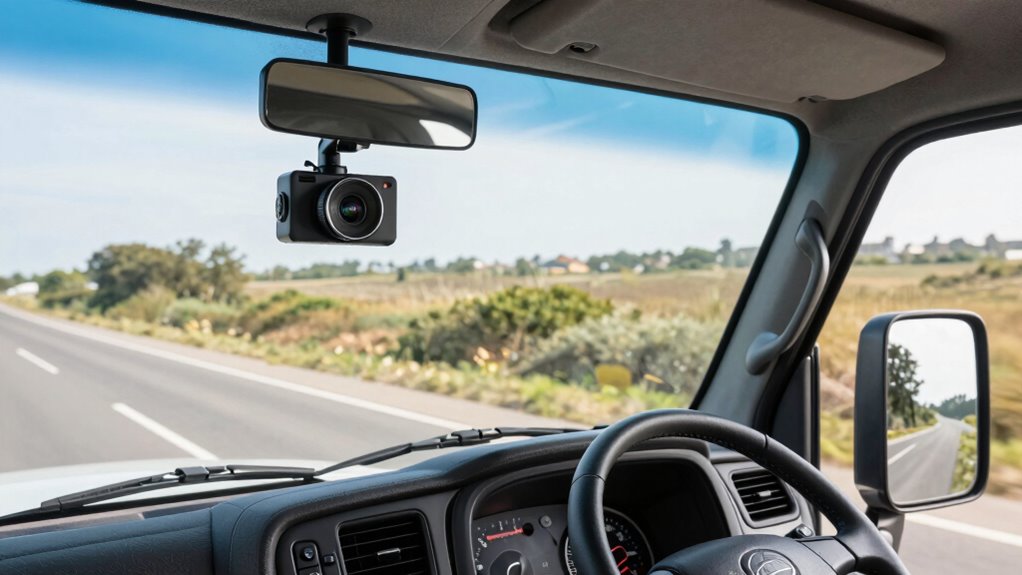
- Avoid mounting behind the rearview mirror to prevent glare, reflections, and obstructed views.
- Position the camera slightly below or beside interior lights to reduce glare and interior reflections.
- Use a sturdy, high-quality mount that secures firmly without damaging the glass or obstructing visibility.
- Regularly check and adjust the placement to maintain optimal angles, clarity, and unobstructed footage.
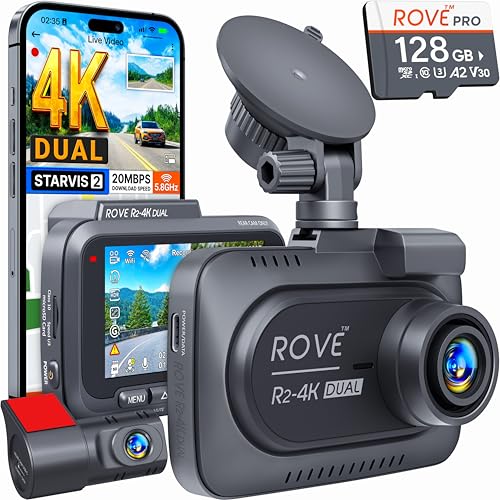
ROVE R2-4K DUAL Dash Cam Front and Rear, STARVIS 2 Sensor, FREE 128GB Card Included, 5G WiFi – up to 20MB/s Fastest Download Speed with App, 4K 2160P/FHD Dash Camera for Cars, 3" IPS, 24H Parking Mode
4K FRONT + 1080P REAR RECORDING – ROVE R2-4K DUAL dash cam offers dual-channel recording capabilities, capturing footage…
As an affiliate, we earn on qualifying purchases.
As an affiliate, we earn on qualifying purchases.
What Makes a Good Dash Cam Mounting Spot on Your Truck?

Choosing the right spot to mount your dash cam is essential for capturing clear footage and guaranteeing safety. You want a location that provides an ideal camera angle, covering the road ahead without blind spots. Typically, mounting near the windshield’s top corner offers the best view, allowing the camera to capture the road and dashboard activity clearly. Using suitable mounting accessories ensures the camera stays secure and positioned correctly, even on bumpy roads. Adjusting camera angles is important to avoid distortion or missing important details. Make sure the mount doesn’t obstruct your view or interfere with airbags. A well-chosen spot combined with the right accessories guarantees you get high-quality footage while maintaining safe driving visibility. Additionally, understanding the contrast ratio behind camera positioning can help optimize footage quality and coverage, especially when considering outdoor lighting conditions. Properly managing lighting conditions can greatly improve the clarity of your footage during different times of day. Being aware of camera placement principles helps ensure you maximize footage effectiveness and safety.

Sportway S504 Suction Cup Dash Cam Mount Holder (5th Gen) with 4pcs 360 Rotating Joints for Apeman Ssontong Biuone iZEEKER HaHoco and Most Other Car Dash Cameras
★S504 dash cam mount is the newest version, it is 1/2 smaller than the old model, compact and…
As an affiliate, we earn on qualifying purchases.
As an affiliate, we earn on qualifying purchases.
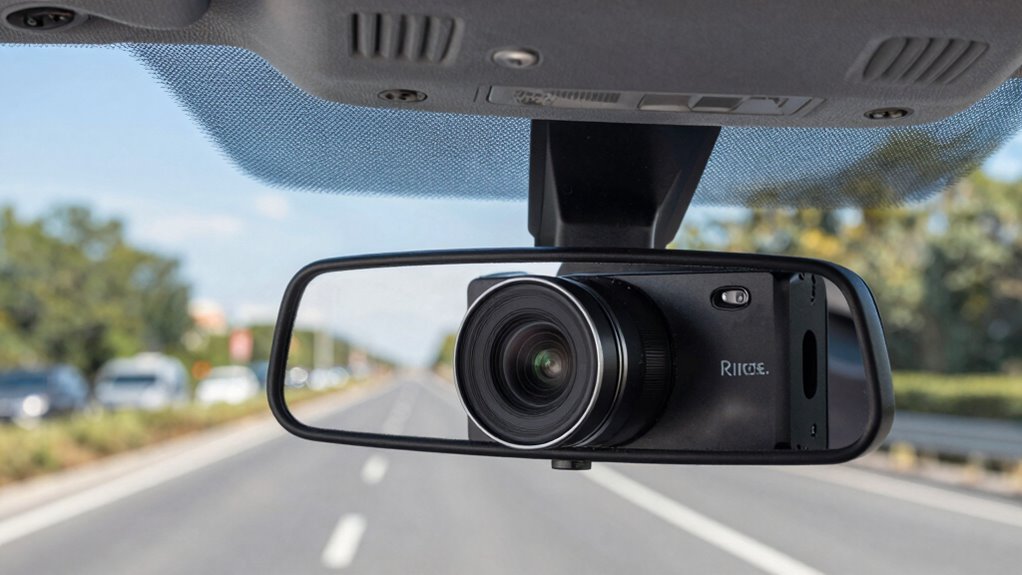
Common Mistakes: Why Mounting Behind the Rearview Mirror Might Hurt Your Footage
Mounting your dash cam behind the rearview mirror can block your view of the road, making it harder to see hazards. It can also cause glare and reflections that distort your footage. These issues could leave you with unclear or unusable recordings when you need them most. To ensure your footage captures important moments clearly, consider the optimal camera placement that balances visibility and recording quality. Additionally, understanding the environmental impact of tissue paper can remind you to keep your vehicle’s interior clutter-free, which can also help prevent obstructions. Proper dashboard setup can further enhance your footage quality by minimizing reflections and blind spots.
Obstructed View Risks
Have you considered how mounting a dash cam behind the rearview mirror can obstruct your view? This placement can block essential parts of your windshield, limiting visibility and risking accidents. It also affects interior lighting, creating shadows or glare that diminish image quality. Additionally, mounting too close to the mirror can cause windshield damage over time, especially if the adhesive isn’t applied correctly or if vibrations loosen the mount. An obstructed view not only endangers your safety but also compromises footage clarity, making it harder to capture critical details during incidents. Proper placement ensures both safety and optimal footage quality, and mounting position plays a crucial role in achieving this. To avoid these risks, choose a mounting spot that keeps your line of sight clear, minimizes interior interference, and preserves the integrity of your windshield. Careful installation is essential to prevent damage and ensure your dash cam functions correctly. Considering regional vehicle regulations can also help ensure your dash cam setup complies with local laws. Proper placement guarantees safety and quality in your dash cam footage.
Glare and Reflection Issues
Although placing your dash cam behind the rearview mirror might seem convenient, it often leads to glare and reflection problems that can compromise footage quality. When the mirror isn’t properly aligned, sunlight or headlights bounce off it, creating glare that obscures the camera’s view. Reflection from the cabin interior, especially if the mirror or dashboard is shiny, can also appear in your footage, distracting or blocking important details. Adjusting the mirror alignment helps minimize these issues, ensuring that reflections and glare don’t interfere with recording. Keep the dash cam positioned away from direct light sources and avoid mounting it directly behind the mirror. This way, you’ll get clearer, more reliable footage, free from the glare and reflections that can ruin your recordings. Proper camera placement is essential for capturing high-quality footage in various lighting conditions.

Rear Camera Holder Backup Camera Mount 【Strong Adhesive】
【Quick Installation & No Drilling Required】This dash cam rear bracket is very easy to install, just use two…
As an affiliate, we earn on qualifying purchases.
As an affiliate, we earn on qualifying purchases.
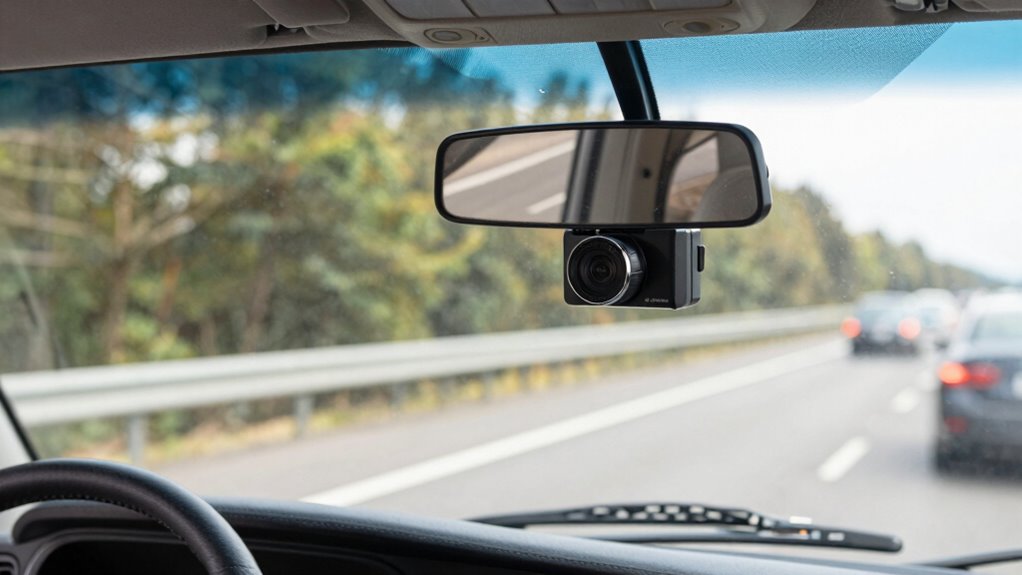
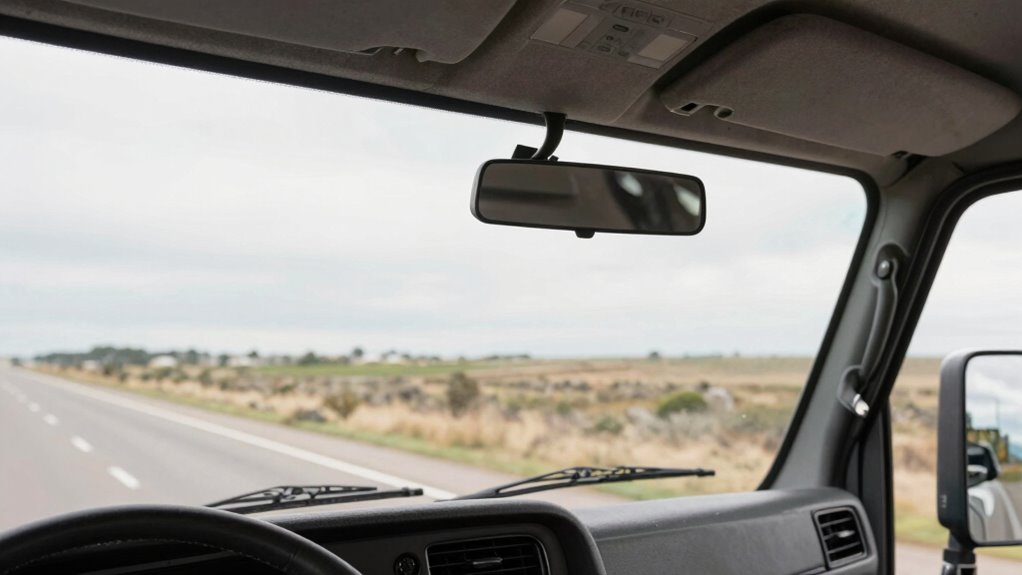
Finding the Best High Spot on the Windshield for Clearer Footage
Placing your dash cam higher on the windshield can give you a better viewing angle and capture more of the road ahead. It also helps reduce glare that can obscure footage and improves the overall clarity of your recordings. Finding that perfect high spot ensures you get a clearer, more detailed view of your surroundings.
Optimal Viewing Angle
Where exactly should you position your dash cam for the clearest footage? The ideal spot is higher up on the windshield, where interior lighting doesn’t cause glare or reflections. This placement allows you to capture wider camera angles, providing a better view of the road ahead. Position the camera at a slight downward tilt to avoid distortion and make certain the lens faces directly forward. Make sure the camera isn’t too close to the glass, which can limit its field of view, or too low, where glare might interfere. Adjusting the camera angles helps optimize footage quality, especially in varying lighting conditions. Keep lighting in mind—bright interior lights or sunlight can affect clarity, so find a spot that minimizes these issues while maximizing your view. Choosing the right camera placement is crucial for capturing clear and useful footage. Additionally, understanding your vehicle’s battery capacity can help ensure your dash cam remains powered without interruption during long drives.
Minimize Glare Risks
To minimize glare risks, you should select a high and central spot on the windshield that keeps your camera above interior lights and sunlight reflections. Positioning it here reduces the chance of direct glare interfering with footage, guaranteeing clearer recordings. A high mount also maintains good mounting aesthetics, keeping your setup neat and unobtrusive. When choosing the spot, consider the camera branding—some models have specific lenses or filters that perform better from certain angles. Placing the camera at this ideal height and position helps avoid reflections from sun or interior lights, which can distort footage or obscure details. This strategic placement ensures your dash cam captures unobstructed, high-quality footage, making it easier to review footage or provide evidence if needed. Additionally, understanding smart home privacy practices can help protect your data from unauthorized access, ensuring your footage remains secure.
Clearer Road Perspectives
Finding the ideal high spot on your windshield greatly enhances your dash cam’s ability to capture clearer road footage. Positioning the camera higher reduces obstructions and minimizes distortion, giving you a better perspective of your surroundings. This placement also helps avoid glare and reflections that can compromise video quality. When choosing a spot, consider how it blends with your dashboard aesthetics and interior decoration—aim for a mount that’s discreet but effective. A higher placement ensures a more thorough view of the road ahead, making footage more detailed and reliable. Remember, the goal is to optimize visibility without sacrificing the interior look of your truck. The right high spot not only improves footage clarity but also maintains the overall neatness inside your cab.

REDTIGER 4K Dash Cam Front Rear, STARVIS 2 Sensor, Free Card Included, 5.8GHz WiFi-20MB/s Fast Download, Dash Camera for Cars with GPS, WDR Night Vision, 170°Wide Angle, 24H Parking Mode(F7NP)
[4K+1080P Front & Rear Recording] REDTIGER F7NP dash cam captures every detail with stunning 4K front and 1080P…
As an affiliate, we earn on qualifying purchases.
As an affiliate, we earn on qualifying purchases.
How to Mount Your Dash Cam for Better Coverage and Safety
Properly mounting your dash cam is essential for maximizing coverage and ensuring safety on the road. Position it high on the windshield, near the center, avoiding obstruction from dashboard aesthetics or interior lighting. This placement minimizes blind spots and captures a clear view of the road ahead. Keep the camera level and avoid tilting it down or up, which can distort footage. Use a mount that allows secure attachment without damaging the glass or interfering with visibility. Consider lighting reflections; avoid mounting where interior lighting or sunlight reflects directly into the lens. Here’s a quick guide:
| Tip | Explanation |
|---|---|
| Ideal height | Mount high on windshield for wide coverage |
| Clear view | Avoid dashboard clutter and interior lighting reflections |
| Secure attachment | Use sturdy mounts for stability |
| Avoid reflections | Position to prevent interior lighting glare |
Additionally, selecting the right cabling solutions can prevent issues like cable failures and ensure your dash cam remains securely connected over time. Proper cable management is crucial to maintain a secure connection and avoid accidental disconnections during driving. Using high-quality cables can extend the lifespan of your setup and improve overall reliability, especially in harsh weather conditions. Ensuring proper installation techniques can also help optimize the camera’s performance and longevity.
Should You Use Side or Rear Windows for Extra View?
Have you considered using the side or rear windows for extra camera views? Mounting cameras on side windows gives you a broader perspective of your surroundings, especially during lane changes or when merging. Rear windows can capture activity behind you, providing valuable evidence in case of rear-end incidents. However, mounting on side or rear windows can introduce glare or reflections that compromise footage quality. Additionally, Proper camera placement is crucial to avoid issues caused by vibrations or dirt, which can affect clarity. If you choose to use side or rear windows, make sure your cameras are securely attached and protected from elements. Regular cleaning and inspection help maintain footage quality and prevent camera damage. Keep in mind that these views complement your primary dash cam** and shouldn’t replace the main camera placement for overall coverage. Effective camera positioning** is essential to ensure optimal footage quality and reliability.
Tips to Mount Your Dash Cam Without Glare or Distractions
Mounting your dash cam securely is the first step to avoiding glare and distractions that can compromise footage quality. To minimize issues, consider your interior lighting, as bright lights can reflect off the windshield, causing glare. Ensure your camera firmware is up to date for peak performance and glare reduction features. Here are some tips:
- Position the dash cam below or beside interior lights to avoid direct reflections.
- Use a matte or anti-glare mount to prevent light reflections.
- Adjust the angle to reduce glare from sunlight or interior lighting.
- Regularly update the camera firmware to benefit from glare reduction improvements and enhanced stability.
Following these tips helps you capture clear footage without visual distractions or glare interference.
Securely Installing Your Dash Cam: Do’s and Don’ts
Securing your dash cam correctly is vital to guarantee it captures clear footage and stays in place, even on bumpy roads. Mount it firmly, avoiding loose attachments that could shift or fall. Regularly check the camera’s position to guarantee ideal angles. Keep in mind that proper battery maintenance is essential; a drained or faulty battery can cause malfunctions. Make sure the power source is stable and connections are secure. Additionally, keep your camera firmware updated to improve performance and fix bugs. Avoid mounting your dash cam in areas prone to glare or obstructions, which can compromise footage quality. Proper installation, combined with regular maintenance and firmware updates, assures your dash cam functions reliably and provides clear, useful recordings when you need them most.
Avoid These Common Mounting Mistakes to Protect Your Investment
To guarantee your dash cam performs reliably, it’s essential to avoid common mounting mistakes that can compromise footage quality and device longevity. Poor mounting can lead to shaky footage or even damage the device over time. First, ensure you avoid placing the camera where it obstructs your view or interferes with vehicle maintenance checks. Second, don’t mount the dash cam too high or too low; ideal placement ensures clear footage without glare. Third, avoid using incompatible adhesives or suction mounts that can loosen over time—use high-quality mounts instead. Fourth, skip mounting it in a location that requires driver training to reach or adjust regularly. Proper placement reduces risks, protects your investment, and guarantees your dash cam remains a reliable part of vehicle maintenance.
Frequently Asked Questions
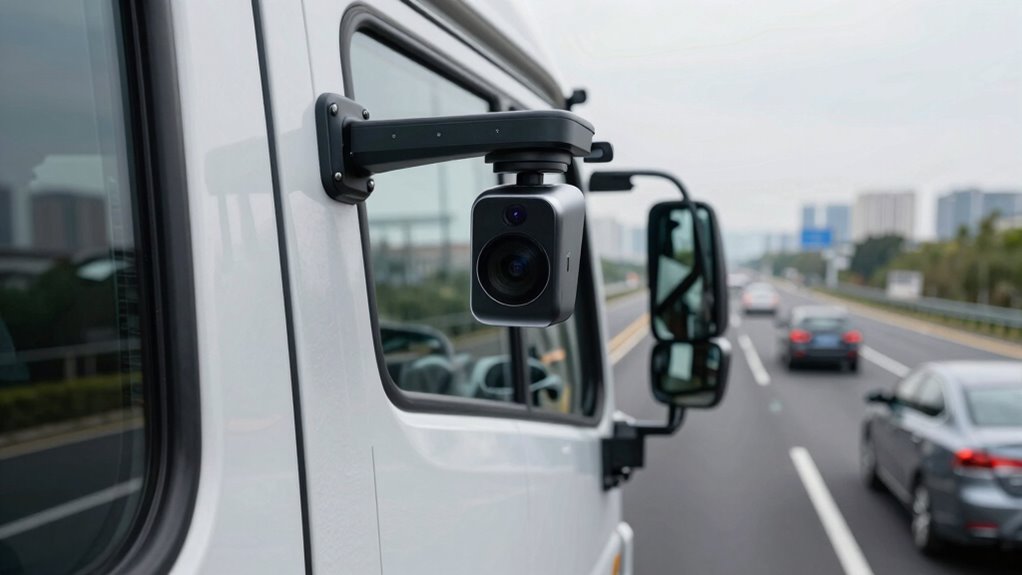
Can I Mount My Dash Cam on the Truck’s Exterior?
Yes, you can mount your dash cam on the truck’s exterior. Use exterior mounting options that are weather resistant to handle rain, dust, and other elements. Make sure to select a camera designed for outdoor use, with sturdy, weatherproof features. Proper exterior mounting can provide a clear view of the road and surroundings, which is especially useful for recording incidents or protecting your vehicle.
What Is the Optimal Angle for Capturing Road Footage?
To optimize your footage clarity, aim for an angle adjustment of about 20-30 degrees downward, just enough to capture the road ahead without glare. For example, if you mount your dash cam higher, adjusting the angle guarantees clear footage of license plates and road signs. Keep testing different angles until you find the sweet spot, as this guarantees you get the best possible road footage with minimal distortion.
How Do Weather Conditions Affect Dash Cam Mounting Choices?
Weather conditions greatly influence your dash cam mounting choices. You need weatherproofing materials that protect your device from rain, snow, and dust, guaranteeing it stays functional. Also, prioritize mounting stability—choose secure mounts that resist vibrations and strong winds. This way, your dash cam remains steady and protected, capturing clear footage regardless of weather challenges. Proper mounting ensures reliable recording, no matter what Mother Nature throws your way.
Is It Better to Use a Suction Cup or Adhesive Mount?
You should choose an adhesive mount for better mounting stability and vibration reduction, especially on a truck with constant movement. Adhesive mounts secure your dash cam firmly, preventing it from shifting or rattling. Suction cups, while easier to install and remove, often lack the stability needed for rough rides, risking vibration and shaky footage. For consistent performance, go with an adhesive mount to keep your dash cam steady and clear.
Can Mounting Location Impact the Dash Cam’s Night Vision?
Yes, your mounting position can impact your dash cam’s night vision. When you place it too high or too low, it may not capture ideal light, reducing clarity in low-light conditions. A good mounting location guarantees the camera faces forward and is unobstructed. Proper placement helps the night vision work effectively, providing clearer footage at night. Adjusting the mounting position can considerably improve your dash cam’s performance in low-light environments.
Conclusion
Choosing the right mounting spot can considerably improve your dash cam footage and safety. Did you know that proper placement can reduce glare by up to 60%, ensuring clearer recordings? By avoiding common mistakes like mounting behind the rearview mirror and opting for a high, unobstructed spot, you’ll get the best coverage. Remember, a well-secured dash cam not only protects your investment but also provides reliable footage when you need it most.