TL;DR

Get kitchen staples and gadgets delivered free with Prime
- Fast, free delivery on millions of items
- Prime Video, Amazon Music and more included
- Member-only deals all year
The Kitchn recipe developer Melissa Gaman describes using a small amount of buttermilk to coat seasoned chicken breasts before searing them. Her test produced browned, juicy chicken, though the method is a cooking tip from one food writer, not a reported comparative test. The recipe finishes the breasts in a 400°F oven until they reach 165°F internally.
The Kitchn’s Melissa Gaman has reported a simple way to use leftover buttermilk: toss a small amount with seasoned chicken breasts before searing them. Gaman says the approach produced browned, juicy chicken, offering an alternative to coating the meat with oil before cooking; her account is a personal kitchen test, not a formal comparison of cooking methods.
Gaman says she tried the technique after finding she had almost run out of oil while preparing boneless, skinless chicken breasts. Rather than use oil to help spread the spices, she added enough buttermilk to lightly coat the meat, then seared it. The result, she writes, became her new go-to method. She does not report a controlled test or compare the finished chicken with a batch prepared using oil alone.
The recipe calls for 1½ pounds of chicken breasts, seasoned with kosher salt, pepper and dry spices. Gaman suggests garlic powder, paprika and dried oregano, while saying other seasonings can also work. Add 2 tablespoons of shaken buttermilk and turn the chicken to coat both sides. The goal is a thin coating, not a marinade: excess liquid should not pool in the bowl.
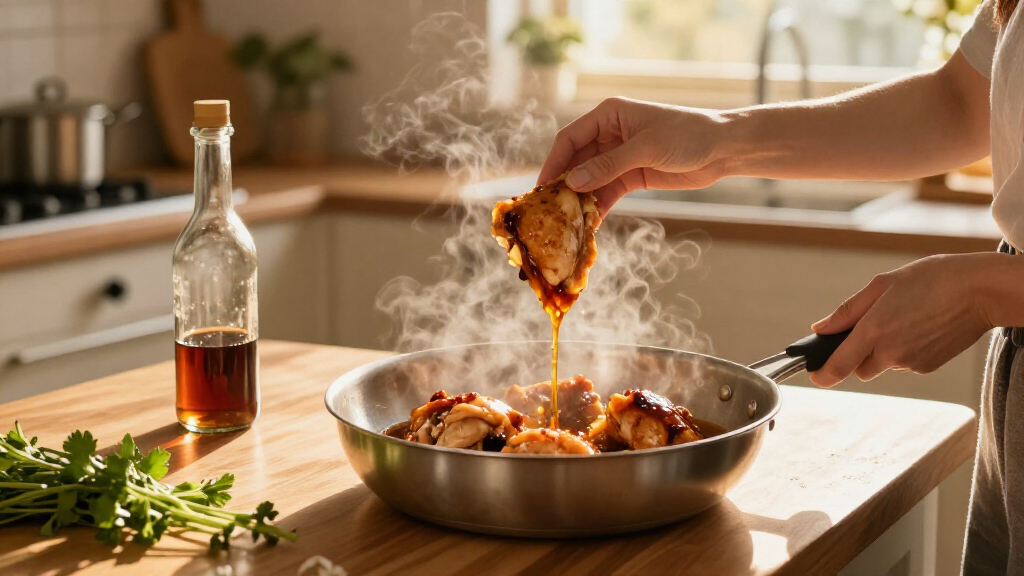
Heat 2 tablespoons of olive oil in an oven-proof skillet over medium heat until hot but not smoking. Sear the breasts with space between them, flipping once; the stated cooking time is 8 to 10 minutes in total. Transfer the skillet to a 400°F oven for another 10 to 15 minutes, checking the thickest part of each breast with a food thermometer. The recipe says to cook chicken to 165°F internally.
A Small Change to the Chicken Coating
The technique is useful for cooks looking for a way to use the leftover buttermilk often left after a recipe calls for only a portion of a carton. It also shows a different use for the ingredient: instead of soaking chicken for an extended marinade, Gaman uses a light coating immediately before cooking.
Gaman’s explanation is that buttermilk’s thickness helps it cling to the chicken, while its fat and natural milk sugars contribute to browning during searing. She says the coating helps shield the exterior from becoming tough while the surface browns. These are her account and cooking explanation; the article does not provide independent measurements of moisture, browning or tenderness.
For readers, the practical point is that buttermilk is not a substitute for adequate seasoning or the oil used in the hot pan. Gaman cautions that the coating itself does not make the chicken taste strongly of buttermilk after cooking, and that excess liquid can splatter in hot oil. The method still relies on checking doneness rather than judging the meat by color alone.
Products Worth Considering

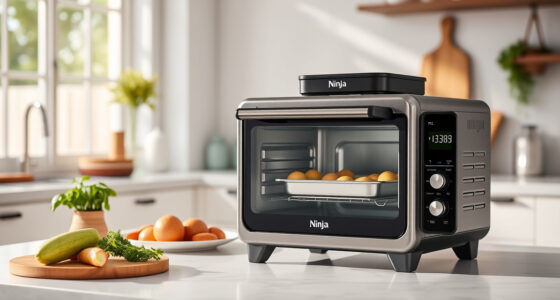
Instant Pot Vortex Plus 10-Quart 7-in-1 Air Fryer Oven

Cuisinart MultiClad Pro 12-Piece Stainless Steel Cookware Set

Cuisinart Chef's Classic 7-Piece Stainless Steel Cookware Set
As an affiliate, we earn on qualifying purchases.
From Leftover Carton to Skillet
Gaman’s article begins with a common kitchen problem: her biscuit recipe uses one cup of buttermilk, while the product is typically sold in a quart-sized container, leaving some behind. She says she had been seeking easy ways to use the remainder rather than putting it in the freezer, where she might forget it.
Buttermilk is often used in chicken marinades. In the article, Gaman explains that its acidity can tenderize proteins over time and its viscosity helps it cling to meat and carry flavor. Her skillet technique uses the ingredient differently: the chicken is coated just before cooking, with no extended marinating period described. She says either low-fat or whole-milk buttermilk can be used; whole-milk buttermilk may be thicker, so the amount needed for an even coating can vary.
“I’ve found my new go-to method.”
— Melissa Gaman, The Kitchn recipe developer
What the Cooking Test Does Not Show
The source describes one cook’s experience but does not provide side-by-side testing, measurements of juiciness, or evidence that the method outperforms other coatings. The amount of buttermilk needed may also vary with the thickness of the product and the size or shape of the chicken pieces. The article gives a range for cooking time, but the exact time depends on the meat and cooking conditions; the specified internal temperature is the doneness check.
Check the Chicken Before Serving
The source does not announce a follow-up study or a forthcoming development. For cooks trying the recipe, the next step is to follow the skillet and oven instructions, avoid letting excess buttermilk drip into hot oil, and verify that the thickest part of the chicken reaches 165°F with a food thermometer. Any remaining uncooked chicken should be handled and refrigerated using standard food-safety practices.
Key Questions
How much buttermilk does the recipe use?
Gaman calls for 2 tablespoons to lightly coat 1½ pounds of chicken breasts. The aim is an even coating, without liquid pooling in the bowl.
Does the chicken need to marinate?
No extended marinating time is given. Gaman tosses the chicken with buttermilk shortly before searing it.
What temperature should the chicken reach?
The recipe says to cook chicken breasts until the thickest part reaches 165°F, checking with a food thermometer.
Can low-fat buttermilk be used?
Yes. Gaman says both low-fat and whole-milk buttermilk work. Whole-milk buttermilk may be thicker, so the amount needed to coat the chicken can differ.
Is the method proven to make chicken juicier?
Gaman reports that her chicken turned out juicy and browned, but the source does not describe a controlled comparison or independent testing.
Source: thekitchn.com